Connecting Informix to IRI (IDS12 DB in IRI Workbench)
This article documents the database connectivity tools and configurations necessary in IRI Workbench and 64-bit CoSort-compatible runtime environments to work with 64-bit Informix Dynamic Server (IDS) v12 table sources and targets. As you will see, these steps track the same way as other RDBMS connections we’ve documented in this blog, including: MS SQL, Oracle, PostgreSQL, Salesforce, Snowflake, and Teradata.
In each case, a JDBC connection is necessary to support visual browsing, and metadata exchange with the Data Source Explorer view and top toolbar wizards in, IRI Workbench. An ODBC connection is needed to support data transfer between the database and the SortCL engine that runs IRI Voracity, CoSort, FieldShield, NextForm, and RowGen jobs. DarkShield, however, only requires a JDBC connection.
Prerequisites
- IRI Workbench
- 64-bit install of the IRI Voracity/CoSort back-end for Windows (in this case), Linux or another IRI-supported flavor of Unix. Note that if you use a 32-bit version of ODBC, you will need to request a 32-bit CoSort archive instead.
- Informix Client Software Development Kit Version 4.10 (CSDK) 64 bits. See its requirements here.
Step 1. Establish the ODBC Connection
Generate DSN (ODBC) towards Informix IDS 12 64-bit database.
For example, in Windows 10, after installing IDS and CSDK components, launch the ODBC Data Source Administrator (64-bits) from the Start menu. This was performed on a computer at SysViewSoft S.A. de C.V., the IRI partner in Mexico.
Select the Informix driver and click Next to complete the tabbed configuration options as follows:
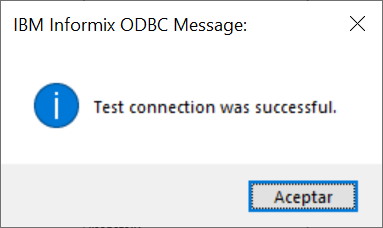
Finally, from the Connection tab, click Apply & Test Connection. It should display a confirmation:
If a failure message is displayed instead, contact your DBA and/or network administrator for help.
Step 2. Establish the JDBC Connection
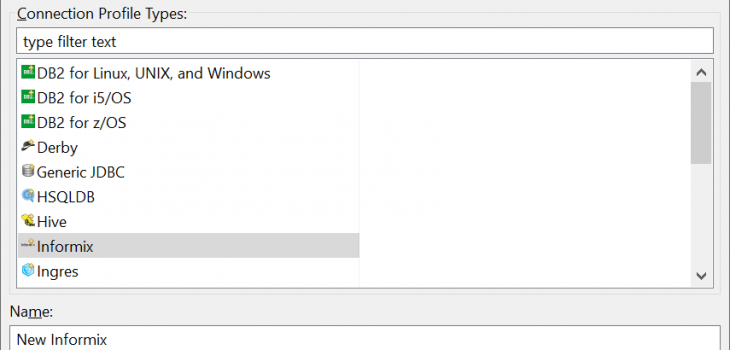
Begin in the Data Source Explorer (DSE) view in IRI Workbench. If you do not see that pane open, click Window > Perspective > Reset Perspective. Click on the New Connection Profile Icon in the DSE to bring up the list of default data sources:
Select Infomix, name the database connection if desired, and click Next to add your new driver:
Once you click the Add icon above, from the Name/Type tab (below), you can select a version:
For IDS 12, I selected Other Driver, Informix 10.0, for compatibility with IDS 12.
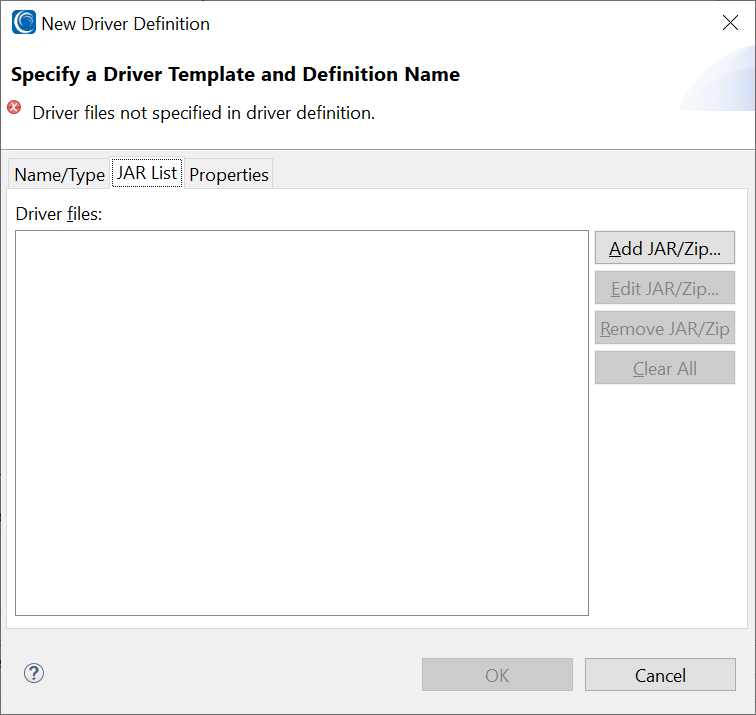
Next in the JAR List tab, remove any existing .jar file and click Add JAR/ZIP … to specify the right one.
Browse to the ifxjdbc.jar installed with the Informix CSDK and click the Properties tab to specify your connection details; for example,
Here is how I created my URL connection via JDBC to IDS 12.
Note that the syntax is:
jdbc: informix-sqli: // <serverfisico>: <puertoconexion> / <nombrebase>: INFORMIXSERVER = < serverinformix>; user = <base user>; password = <paswdbase>;
where:
serverfisico = server where informix is installed (name or ip).
connectionport = port found in file (services)
On Windows, see C:\Windows\System32\drivers\etc\ services
On Linux, Solaris, HP-UX, or AIX, see /etc/services
For example, for the Informix server name (ol_informix1210), the services file might contain:
ol_informix1210 9088 / tcp
dr_informix1210 9089 / tcp
lo_informix1210 9090 / tcp
ol_informix1210_json 27017 / tcp #JSON listener for ol_informix1210
The most logical thing to select would seem to be port 9088, but it is not; you must use the port for the third service; i.e., lo_informix1210 on port 9090.
basename = name of the database in informix that you want to access.

serverinformix = name of the internal informix server.

baseuser = database user ID

paswdbase = access password
Example URL:
jdbc: informix-sqli: // localhost: 9090 / scott: INFORMIXSERVER = ol_informix1210; user = informix; password = Svs123;
Click OK once you have completed the details in this section. You can then test your connection as follows:
Check the Save password option, and click Test Connection. It should display a confirmation:
If a failure message is displayed instead, contact your DBA and/or network administrator for help.
Step 3. Register the Connection
From the Workbench Windows menu, select Preferences. Once in Preferences, select IRI > Data Connection Registry to open this dialog:
Select the ODBC connection created previously (INFORMIXW) and the (Data Source Explorer) connection profile created via JDBC for Informix IDS 12. Click Apply and Close to finish.
At this point, your connections to Informix are confirmed the IRI Workbench integration is complete. You and ready use Informix with IRI Voracity for data discovery, data integration, data migration, data masking, data quality, data wrangling, and test data. Use the job creation wizards in IRI Workbench, and run your SortCL-compatible job scripts from there or the command-line.
If you need help setting up or making use of your Informix database connection in IRI Workbench, contact your IRI representative or support@iri.com.


