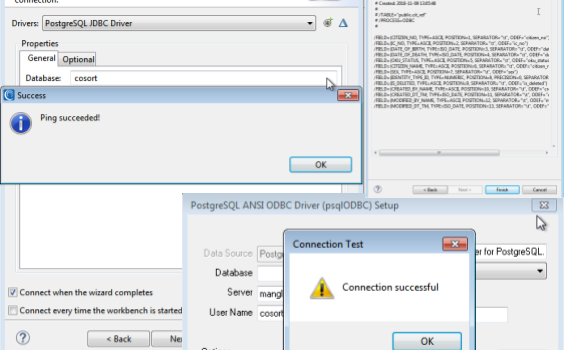
Connecting PostgreSQL to IRI Workbench
Connecting to PostgreSQL (and compatible databases like Amazon RDS, CockroachDB and EnterpriseDB) for data movement and manipulation in IRI Workbench-supported products like Voracity, CoSort, FieldShield, NextForm and RowGen follows the same paradigm as other relational databases. This means driver downloading and installation, configuration (using and testing with your credentials), registration, and validation.
Workbench users interact with PostgreSQL tables and exchange metadata in IRI job wizards through the PostgreSQL JDBC driver. They move data to and from Postgres and the SortCL data manipulation engine common to the aforementioned IRI products via ODBC. Note that if you are masking data in PostgreSQL with IRI DarkShield, only the JDBC connection documented below is required.
As with the other databases, if you run Workbench on Windows, you will run the ODBC 32-bit data source administrator and specify the PostgreSQL ODBC driver in it. If you are connecting to a database inside a firewall, you should also use a tool like OpenVPN for remote access. Of course, you can use direct access if you are inside your Local Area Network.
This document provides step-by-step instructions to: 1) obtain the PostgreSQL JDBC driver and PostgreSQL ODBC driver (since you will need both), 2) configure those drivers and confirm they are working, 3) register and bridge connections, and 4) test things out.
Step 1: Obtaining JDBC and ODBC drivers for PostgreSQL
In this section, it does not matter what order you go regarding the drivers. What matters is that as long as you have the drivers installed, you should be able to use them for configuration for connecting to PostgreSQL. This section covers installation of the JDBC and ODBC drivers for PostgreSQL.
First, download the ODBC driver from: https://www.postgresql.org/ftp/odbc/releases
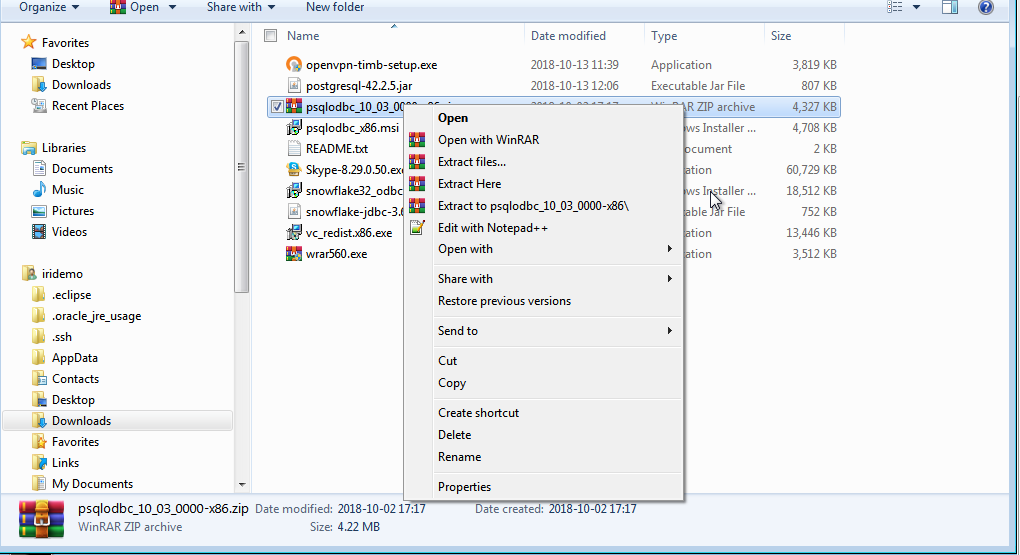
I used psqlodbc_10_03_0000-x86.zip. After downloading, extract it with WinRAR (“Extract Here”):
After you extract the zip file, open “psqlodbc_x86.msi” by right-clicking and clicking on “Install”:
Follow the installation instructions.
Download the PostgreSQL JDBC driver (as of this writing, the latest version was postgresql-42.2.5.jar) at: https://jdbc.postgresql.org/
Step 2: Configuring JDBC and ODBC Drivers for PostgreSQL
Configuring JDBC and ODBC drivers for PostgreSQL is no different than configuring them for other databases. At this point, you should already have downloaded and installed the drivers per the instructions in step 1.
Configure the ODBC Driver:
Run the 32-bit version of ODBC Data Source Administrator:
Click on “System DSN.”
Click “Add”:
The ANSI driver is used for standard Latin text. The Unicode driver is used for a Unicode character set. We recommended the ANSI driver because using working with UTF is more complex.
Highlight “PostgreSQL30” (located under “System DSN”) and click “Configure.”
After your credentials are entered, test the connection by clicking on “Test” (make sure your VPN is running, if applicable).
After the connection is successful, click “Save.”
Configure the JDBC Driver:
Open IRI Workbench.
Click on “New Connection Profile” in Data Source Explorer and select “PostgreSQL.” Then click “Next.”
Click “Edit Driver Definition” (the blue-lined triangle next to the drop-down menu for the drivers):
Click “Add JAR/ZIP.” This is where you have to locate the .jar file that you have downloaded (you should have postgresql-42.2.5.jar):
Click on “Properties.” In this tab, enter your credentials for connecting to PostgreSQL.
Enter the appropriate credentials. Check the “save password” box so that you will not have to enter the credentials every time. After you enter the credentials, click “OK.”
Test the connection to ensure that you can successfully connect to PostgreSQL (make sure your VPN is running, if applicable):
Once the connection is successful, click “Finish.”
Once you finish the process, you can rename the database in the Data Source Explorer if you wish.
Step 3: Registering and Bridging Connections
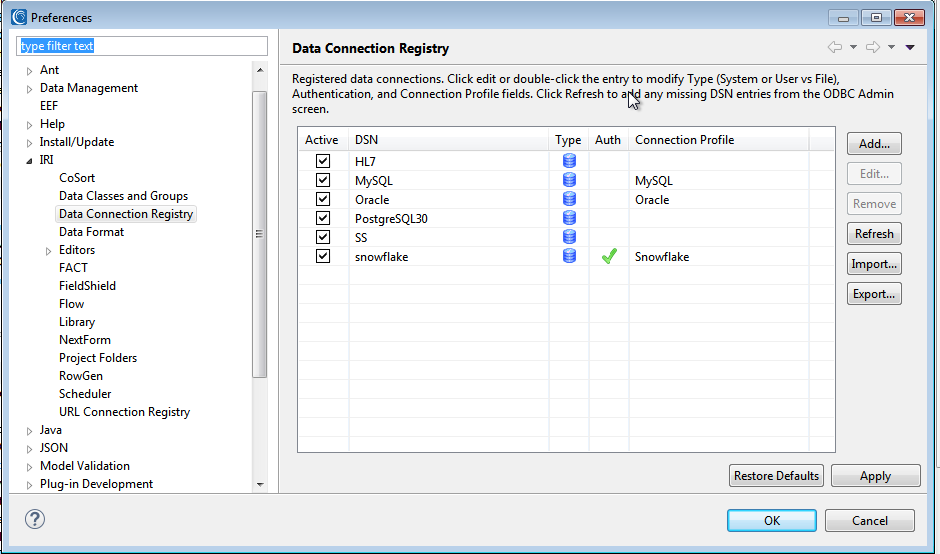
Open the Data Connection Registry from the IRI Workbench (Window > Preferences > IRI).
Click on “PostgreSQL30” and click “Edit.”
Add a schema filter if you wish to add one. See this article if you have hundreds or thousands of tables. Because the ODBC driver does not save the credentials, you will need to enter them in the “Authentication” section. Select a connection profile for the JDBC connection. After you enter the information, click OK.
Click “Apply” to save the changes.
When you register the connection with PostgreSQL, you are mapping out the permissions between the executables that migrate and control data through ODBC, and the IRI Workbench wizards that use the JDBC connection to parse and use the table metadata. This is what enables IRI Workbench to make and visually interact with your data architecture and column-level specifications.
Step 4: Testing Things Out
At this point, you should have everything properly configured. Both can be verified by opening the database and table you want in Data Source Explorer (which uses JDBC). For example, right-click on a table located in your schema, and choose “generate DDF” from the IRI menu:
This will open the Data Definition Format (DDF) file wizard, which builds SortCL-compatible /FIELD layouts you can use in multiple application job scripts like FieldShield .fcl masking jobs.
Once you enter specifications like these and click OK, you should see the field layouts matching the columns in the table you highlighted:
And after you click “Finish,” you should have reusable metadata file in your project explorer like this:
If you need additional help connecting your PostgreSQL data sources in IRI Workbench, contact your IRI representative or email your details to support@iri.com.
Follow along with our YouTube video!

